0. TL/DR (Too Long, Didn’t Read)
We’re happy to help anyone get through the gallery addition process by email alone – what is below explains the full process (both by you and behind the scenes by the webmaster). Either way, please send an email or use the Website Contact Form for details and to get started.
1. Introduction
This page explains the process of being added to the Astrophotography section, including the set up of some code in WordPress for automating the gallery post listing, how it is proposed that people’s Landing Pages be set up for consistency across the website, and how to do your own posts of new images and content to the website once your Landing Page has been set up.
In brief – anyone with an account can:
- Have an official presence on the site with their own name used as a Category for easy association of their images
- Have their gallery additions (Posts) automatically added to their Landing Page so that no by-hand step of keeping one’s landing page up-to-date is necessary
- Have a Landing Page and their Posts added to the website that maintains some consistency in presentation across all contributors
- Have their Posts and Landing Page checked prior to being published by the webmaster in case there are issues with formatting, uploading, and content
Your gallery page can be a place for you to direct people to your other sites, can be the official place you post your images (we’ve the storage and bandwidth), or anything in between.
We wish to acknowledge Nick Lamendola for his help in working through the process as part of getting his section and posts in place – he has spared others at least two rounds of emails to get to the same point!
2. Terms And Definitions
“Landing Page” – the “Astrophotography – Your Name” already in place for contributors. See Nick’s Page as an example.
“Page” and “Post” – if the terms “Page” and “Post” and their meanings in WordPress are unfamiliar to you, please see HERE.
Category – in a WordPress context, please see HERE for a description.
Tag – in a WordPress context, please see HERE for a description.
3. The “Astrophotography – Your Name” Landing Page
What The Webmaster Does
The gallery inclusion process starts with your request to be added to the Astrophotography section. When that email goes to the webmaster, the following process occurs:
- An “Astrophotography – Your Name” Page is created in WordPress.
- The template for this page is pasted into this new page by the webmaster, which includes a two-column setup, “About,” “Equipment,” and “Contact and External Link” headings on the left side, and an empty gallery on the right.
- Your name is used to create a new Category as a sub-category of “Astrophotography” – this is how we’re tracking contributions and automatically populating each contributor’s posts to their Landing Page.
- Ultimate Post List is used to create a shortcode for your sub-category that gets pasted into a section underneath the gallery on your Landing Page. You’ll see something like when you get around to editing your Landing Page.
- We’ll create a new account on the WordPress site with the email address you provide. The format for your userid will be firstnamelastname (all lowercase, no spaces). You’ll automatically get an email about logging in the first time setting up a password. Please do so and have a look around.
What You Can Do To Make It Easier
Your email with some information and 4 or 5 pics to start the gallery population process will make the whole process much faster. To keep the Landing Pages looking consistent, please provide the following:
- Your Name – exactly as you want it to appear on the ASRAS website.
- About – a few sentences would be most welcome. How long you’ve been in ASRAS, places you like to image, things you like to image, anything else folks might find interesting, etc.
- Equipment – everything or just your typical rig is fine. This section is here just to give people a taste of the variety of gear used in the group.
- Contact and External Links – consider your Landing Page another way for people to get a hold of you. Website? Great. Astrobin? Super. Email? No problem. Facebook/X/Mastadon/MeWe/whatever-else? Please do.
- 4 or 5 pics to get the ball rolling – this is only to populate the first version of your Landing Page. You can change/update/delete as you like once the page is set up. We do not have a hard limit on the size of any uploads, but do ask that you keep them reasonable – 5 MB or smaller – so that they don’t take too long to load on people’s machines (we still have a variety of connection speeds).
- Your preferred email address for the WordPress account (if different from the one you contact us with)- we’ll need at least that much information (plus “Your Name”) to set you up an account.
- If you’re new to WordPress, check out some youtube videos. The next section only looks awful – WordPress is designed to make things easy and, once you’ve done it once or twice, you’ll see that there really is nothing difficult about it.
Landing Page Is Up – Then What?
We’ll send the link off for your review, confirm you’re happy with everything, change as needed, and then we’re all set for your contributing Posts to the website. Nothing will be made web-accessible until all are happy with the Landing Page.
Once complete, we’ll also add your Landing Page to the drop-down menu at the top-right of the website (under “Astrophotography”).
4. Posting Images To The Website
Once your Landing Page is in place and you’ve a working account on the website, you can publish new images as Posts on the ASRAS website. Published Posts will go out to people signed up for website updates and, eventually, automatically out to ASRAS social media.
We’ve a proposed template for Posts that will keep things consistent on the website and, importantly, make it easy for people to find more of YOUR content and more of OTHERS content on the same subjects using tags.
To Add A Post For A New Image (Or More)
1. Log in.
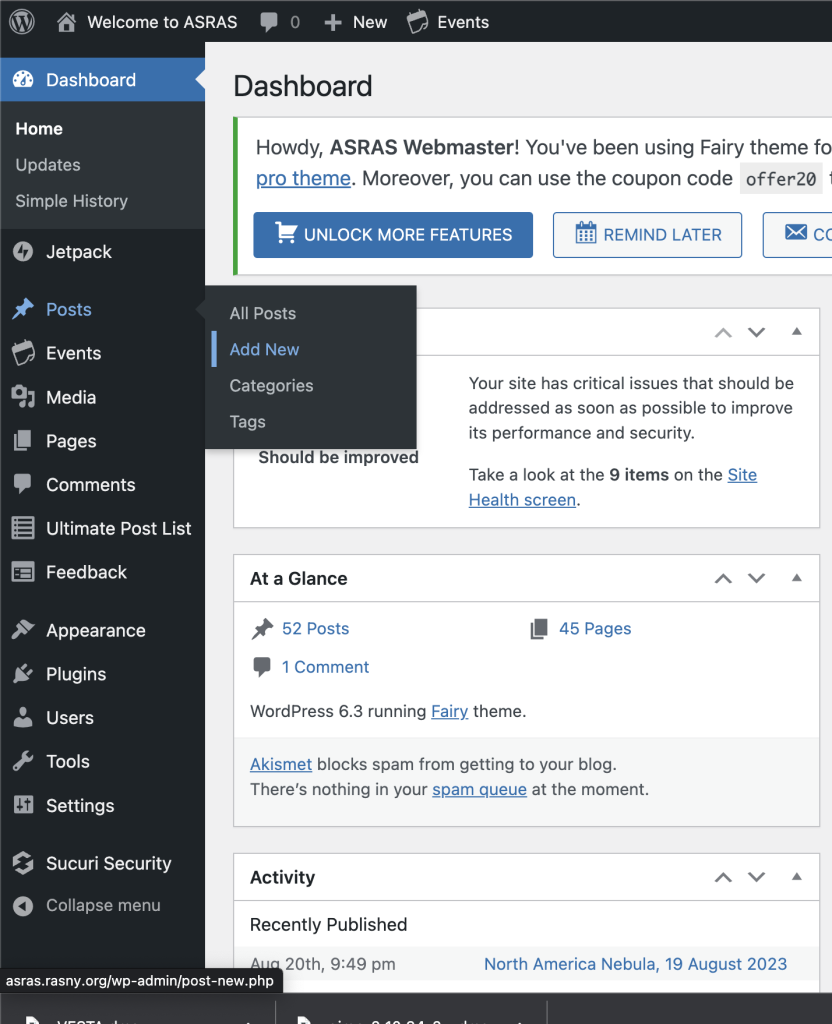
2. Click on “Posts” on the left menu bar and then click “Add New” – your userid will automatically be associated with the post.
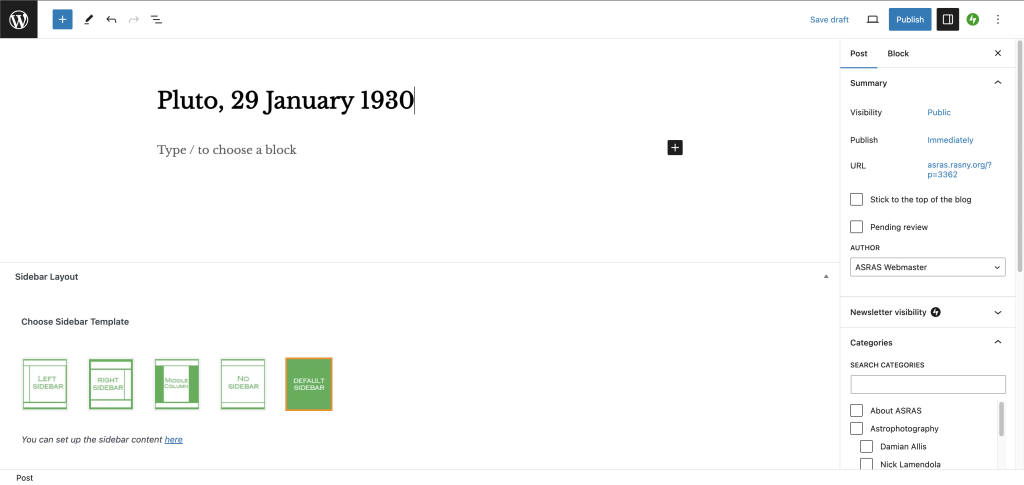
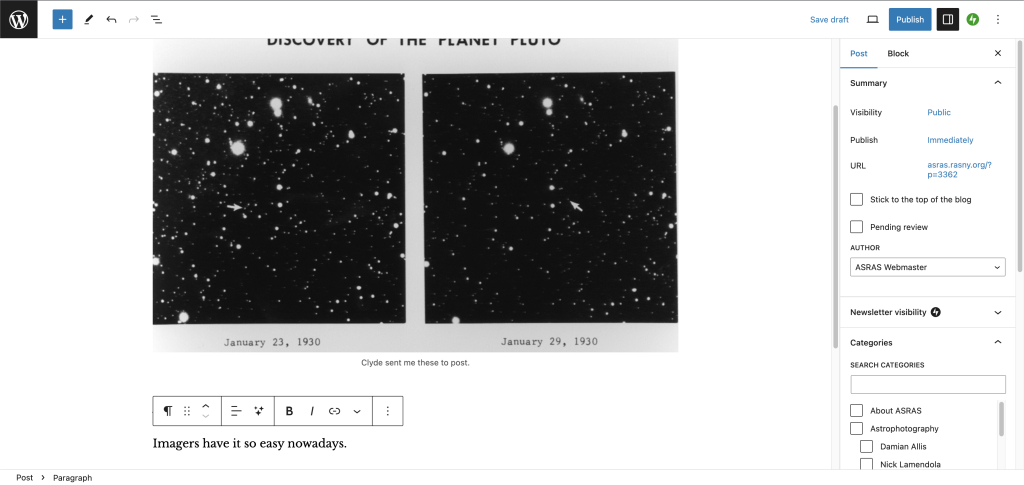
3. Add A Title – We’re requesting that the title be in the format: What Is Being Imaged, The Date In Day Month Year Format, as, for example, M31, 24 August 2023. The title can be more descriptive if you like, but please keep it short-ish, with the comma and image date in the requested format (to make life easier for others later).
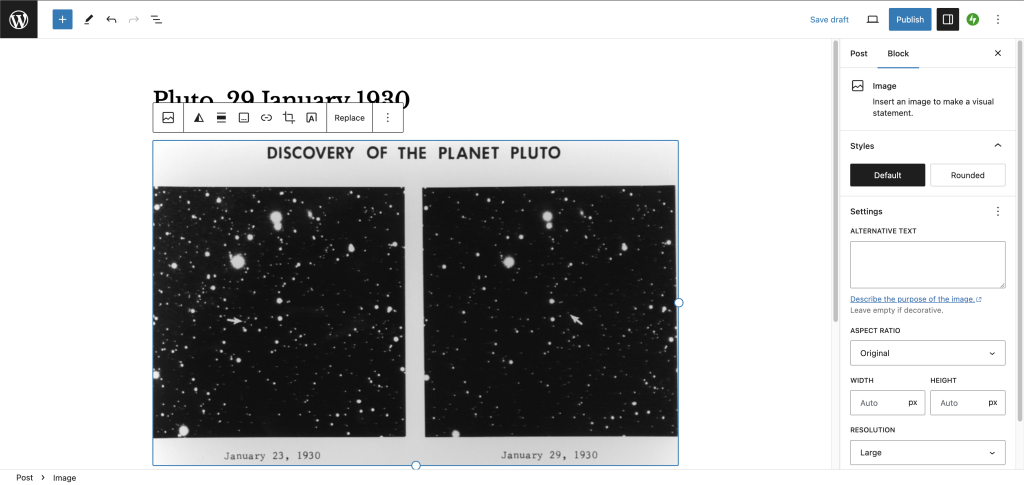
4. After hitting your Enter/Return key (or simply click on “Type / to choose a block”), you’re ready to start uploading. This section is a “Block” in WordPress and is how posts get formatted into sections. You can drag your image from your computer into this first block and it will upload onto the site – when you’re lined up, the “Block” will turn blue-ish and you may see a green “+” sign. For now, we ask for a 5 MB limit on the upload size for this image.
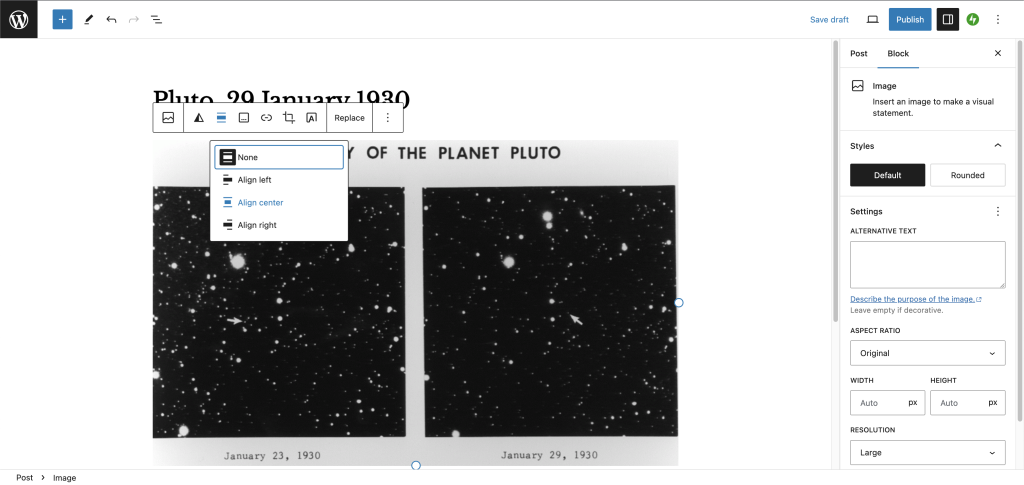
5. With the image selected, click on the “Center” button.
6. Also with the image selected, click on “Add A Caption.”
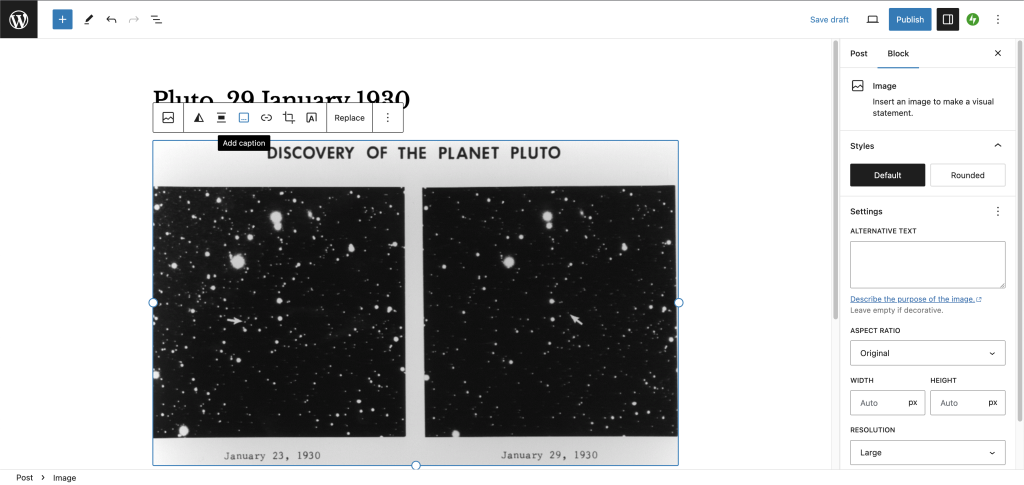
7. Below the image, add the caption. When you hit your Enter/Return key, you’ll automatically create the next Block.
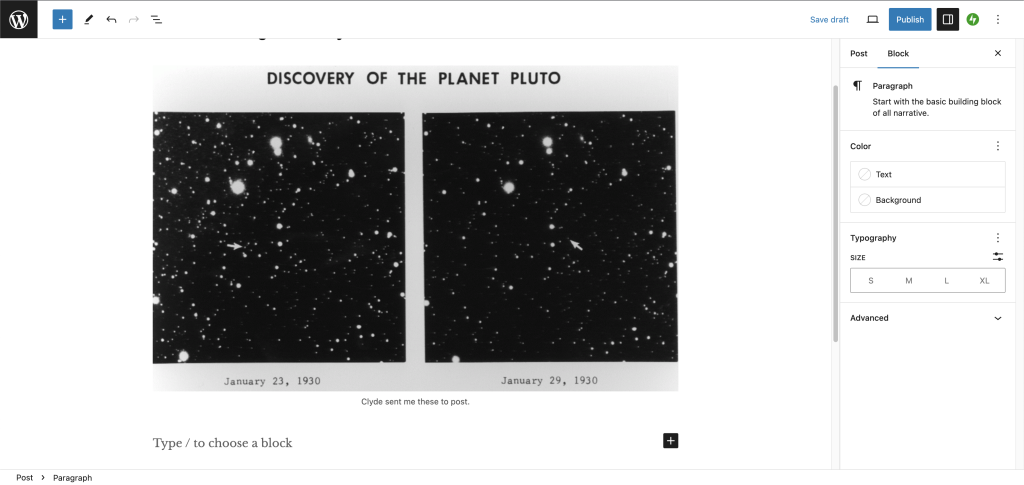
8. Below the image and caption, you can be as thorough in describing the image as you like and, if you already know how, can add links as well for more information. Consider including any of the following headings: About, Equipment, Location.
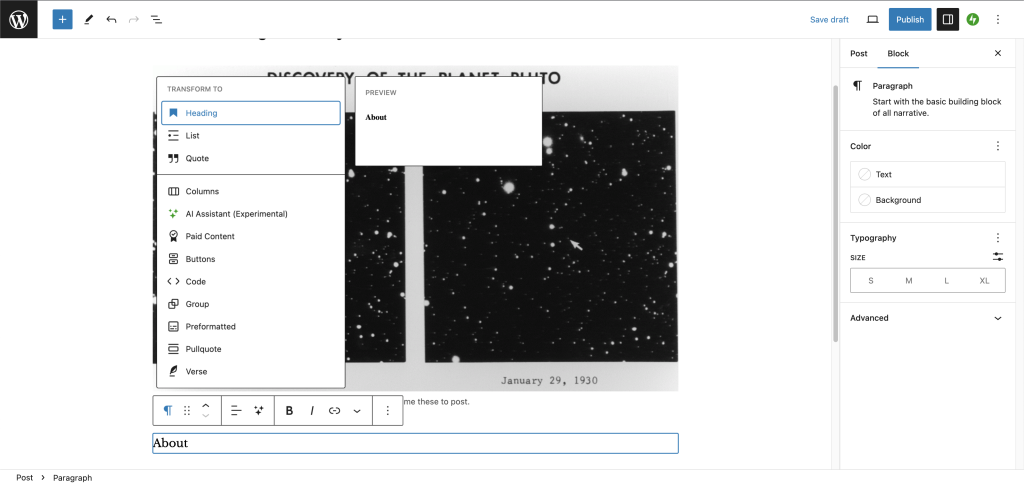
9. To add a section: Click on the Block and add some text – for instance, “About.” Type the section title (“About”), then hover over the word “About.” A menu will appear above. Click on the paragraph symbol and a long menu will appear above. Click on “Heading.”
10. Move the cursor to the end of “About” and hit Enter/Return to start a new section and add more text (in paragraph format).

11. Repeat 9 and 10 for as many sections as you like.
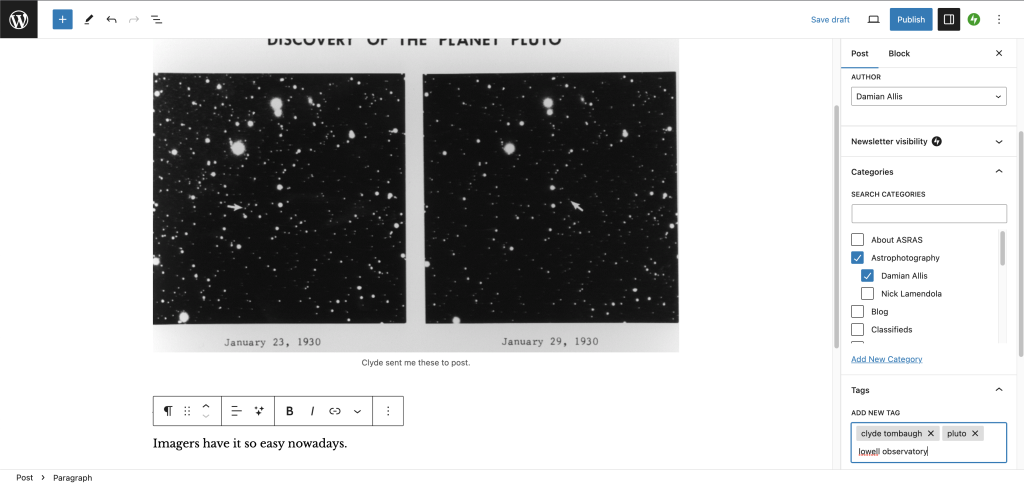
12. Select Your Category – on the right-hand side of the editing window, click on “Post” at the top (you have “Post” and “Block” options). Down in the Category section, click on both Astrophotography and Your Name. The Astrophotography Category will add you to all people in the category (if someone else just wants to peruse the online pics) and Your Name will auto-populate the “Recent Posts” section of your Landing Page.
13. Tags – below the Category section is a Tag section. Scroll down and add tags to describe your image (m31, andromeda galaxy, farash center, perseids, jupiter, etc.). Tags will provide auto-fill options based on tags that already exist on the website. Please defer to the pre-existing tags unless you find spelling errors (and please report those!).
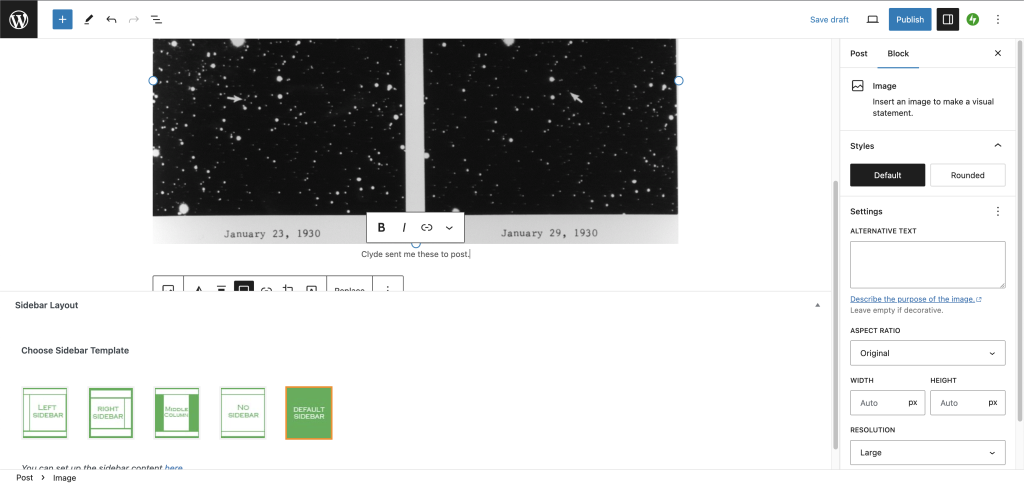
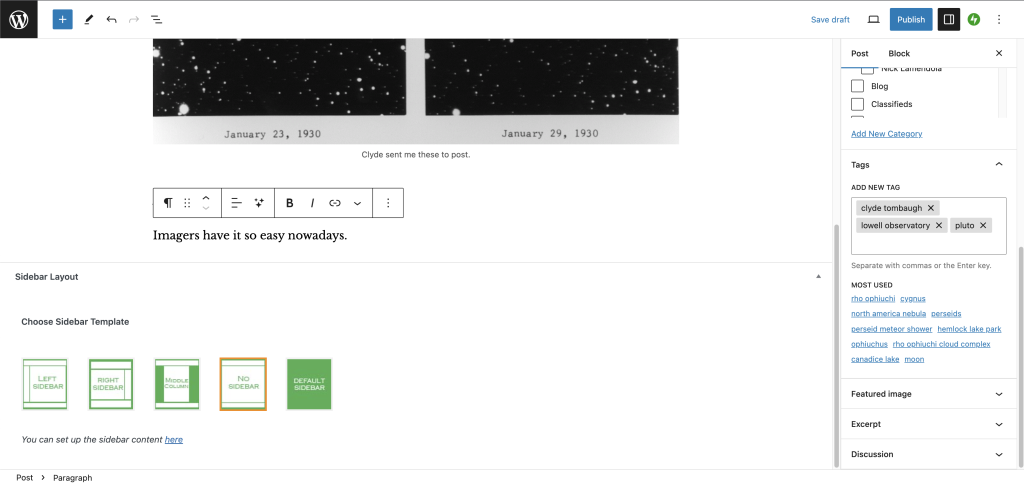
14. Scroll to the bottom of the editing window and click on “No Sidebar.”
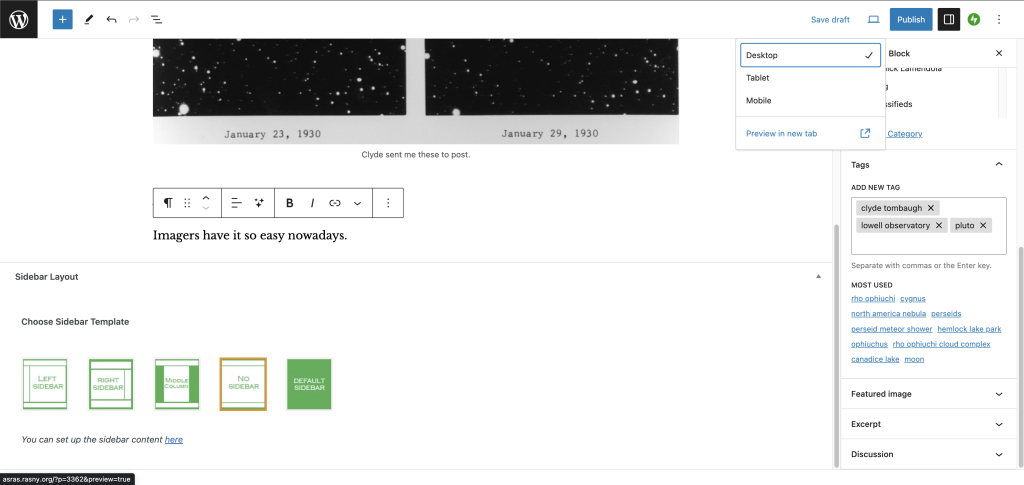
15. Click on preview -> Preview In New Tab to see if all looks right.
16. If so, click on Publish.
17. If not, and you want help or feedback, save as “Draft” and send an email. We’re happy to help.
18. Additional – either you or the webmaster can paste the boilerplate sentence on the top (this will auto-populate someday).
5. Future Additions To This Process
- A self-generating Template for the Page and Posts
- Auto-updating social media with gallery posts